
Tools
Safety glasses, Gloves, mask, Tape measure, marker, pencil, Square, razorblade knife, String (mason)
Skil saw
Jig saw
Band saw, Table saw (helpful to have)
Sander, random orbit
Belt sander (helpful to have)
Drill driver drill bits (10, 15, 20, 25, 30 torx)
Bits ⅛, 3/16, ¼
Hammer
Chisel, prybar, router (helpful to have)
Paint brush
For moving the hut
jacks
Trailer
Wheels
Materials
Plan
Wood
2×4- if put on concrete, otherwise stays on trailer., deck- treated wood or redwood or cedar
2×6- roof, walls
2×10- curved ribs (holds up roof)
Flooring- hardwood, softwood or plywood
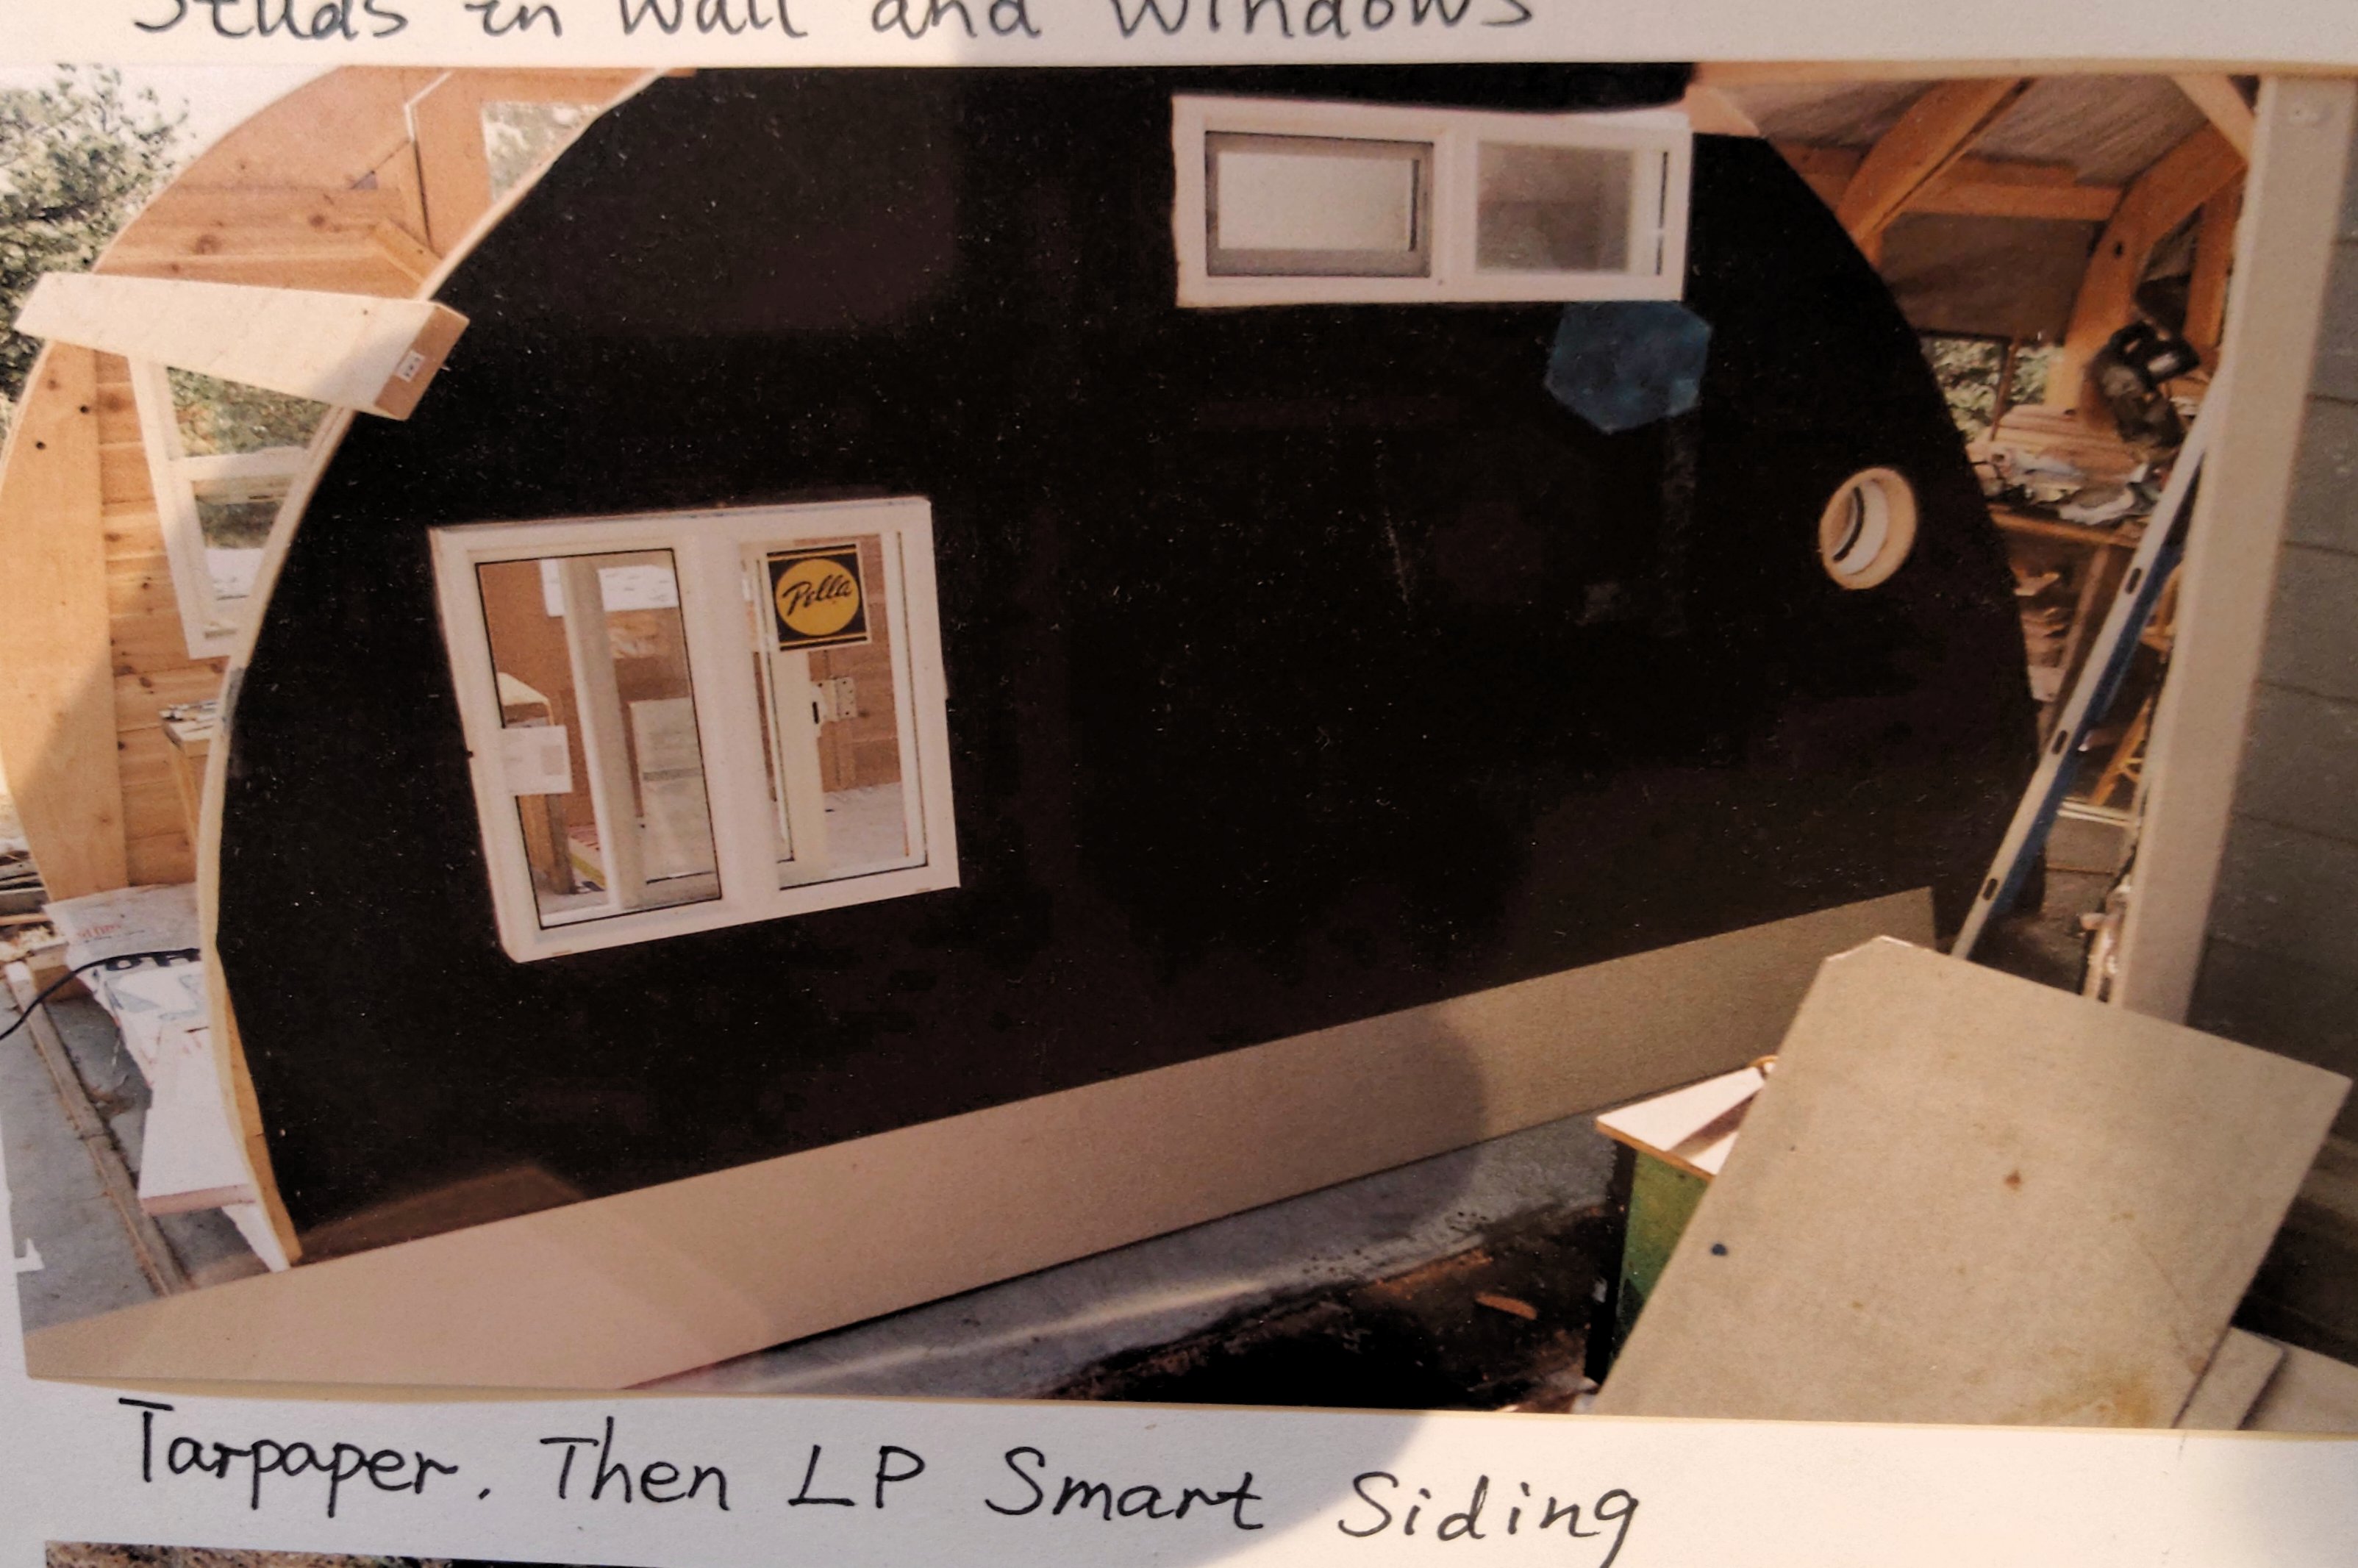
LP smart siding
Cedar- for walls inside
Door
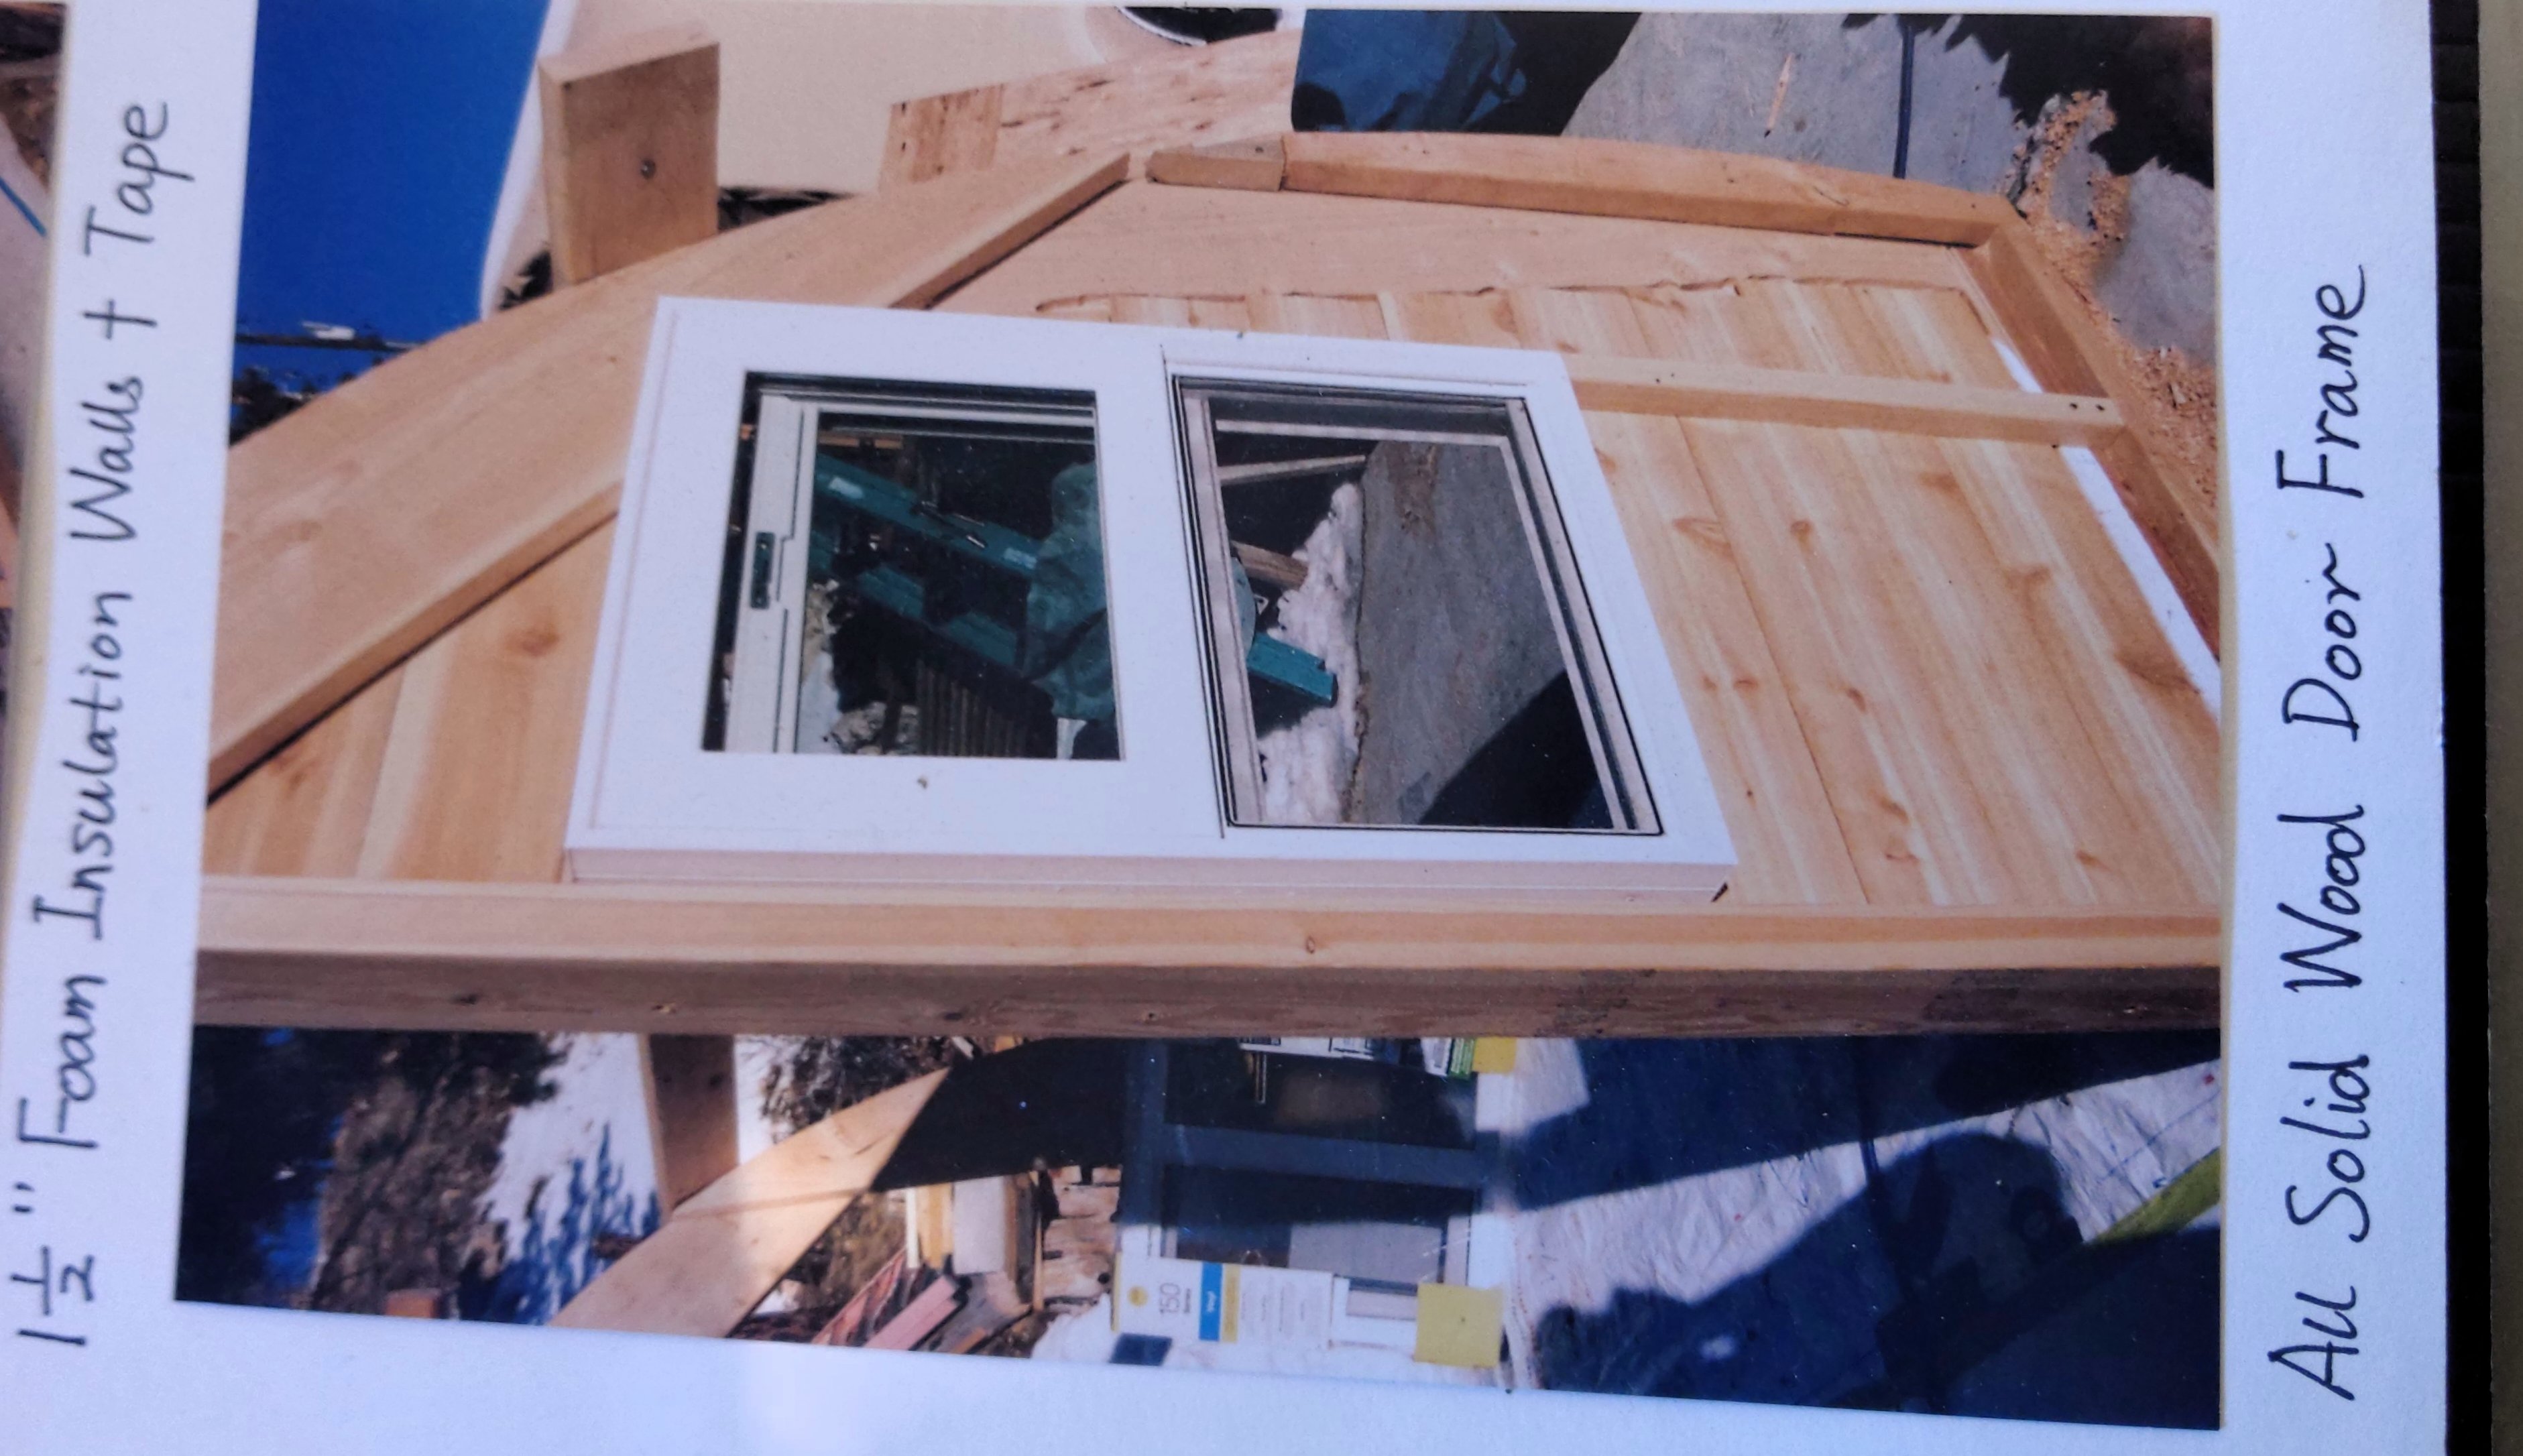
Windows
Insulation (rigid foam)
Tar paper
Tyvek
Screws
Caulk
Hinges- latch
Steel strapping
Rain fly (canvas)
varnish
Assembly
Need flat approx. 12’x12’ area (ex: garage floor)
Or can build deck and level to work off of.
A deck- size if putting on trailer over 80”. Should have trailer reserved since wider trailer harder to find. So, for example (80” = 6’- 8” x 12’ = 144”). Needs to have strength to hold walls and roof and stuff inside.

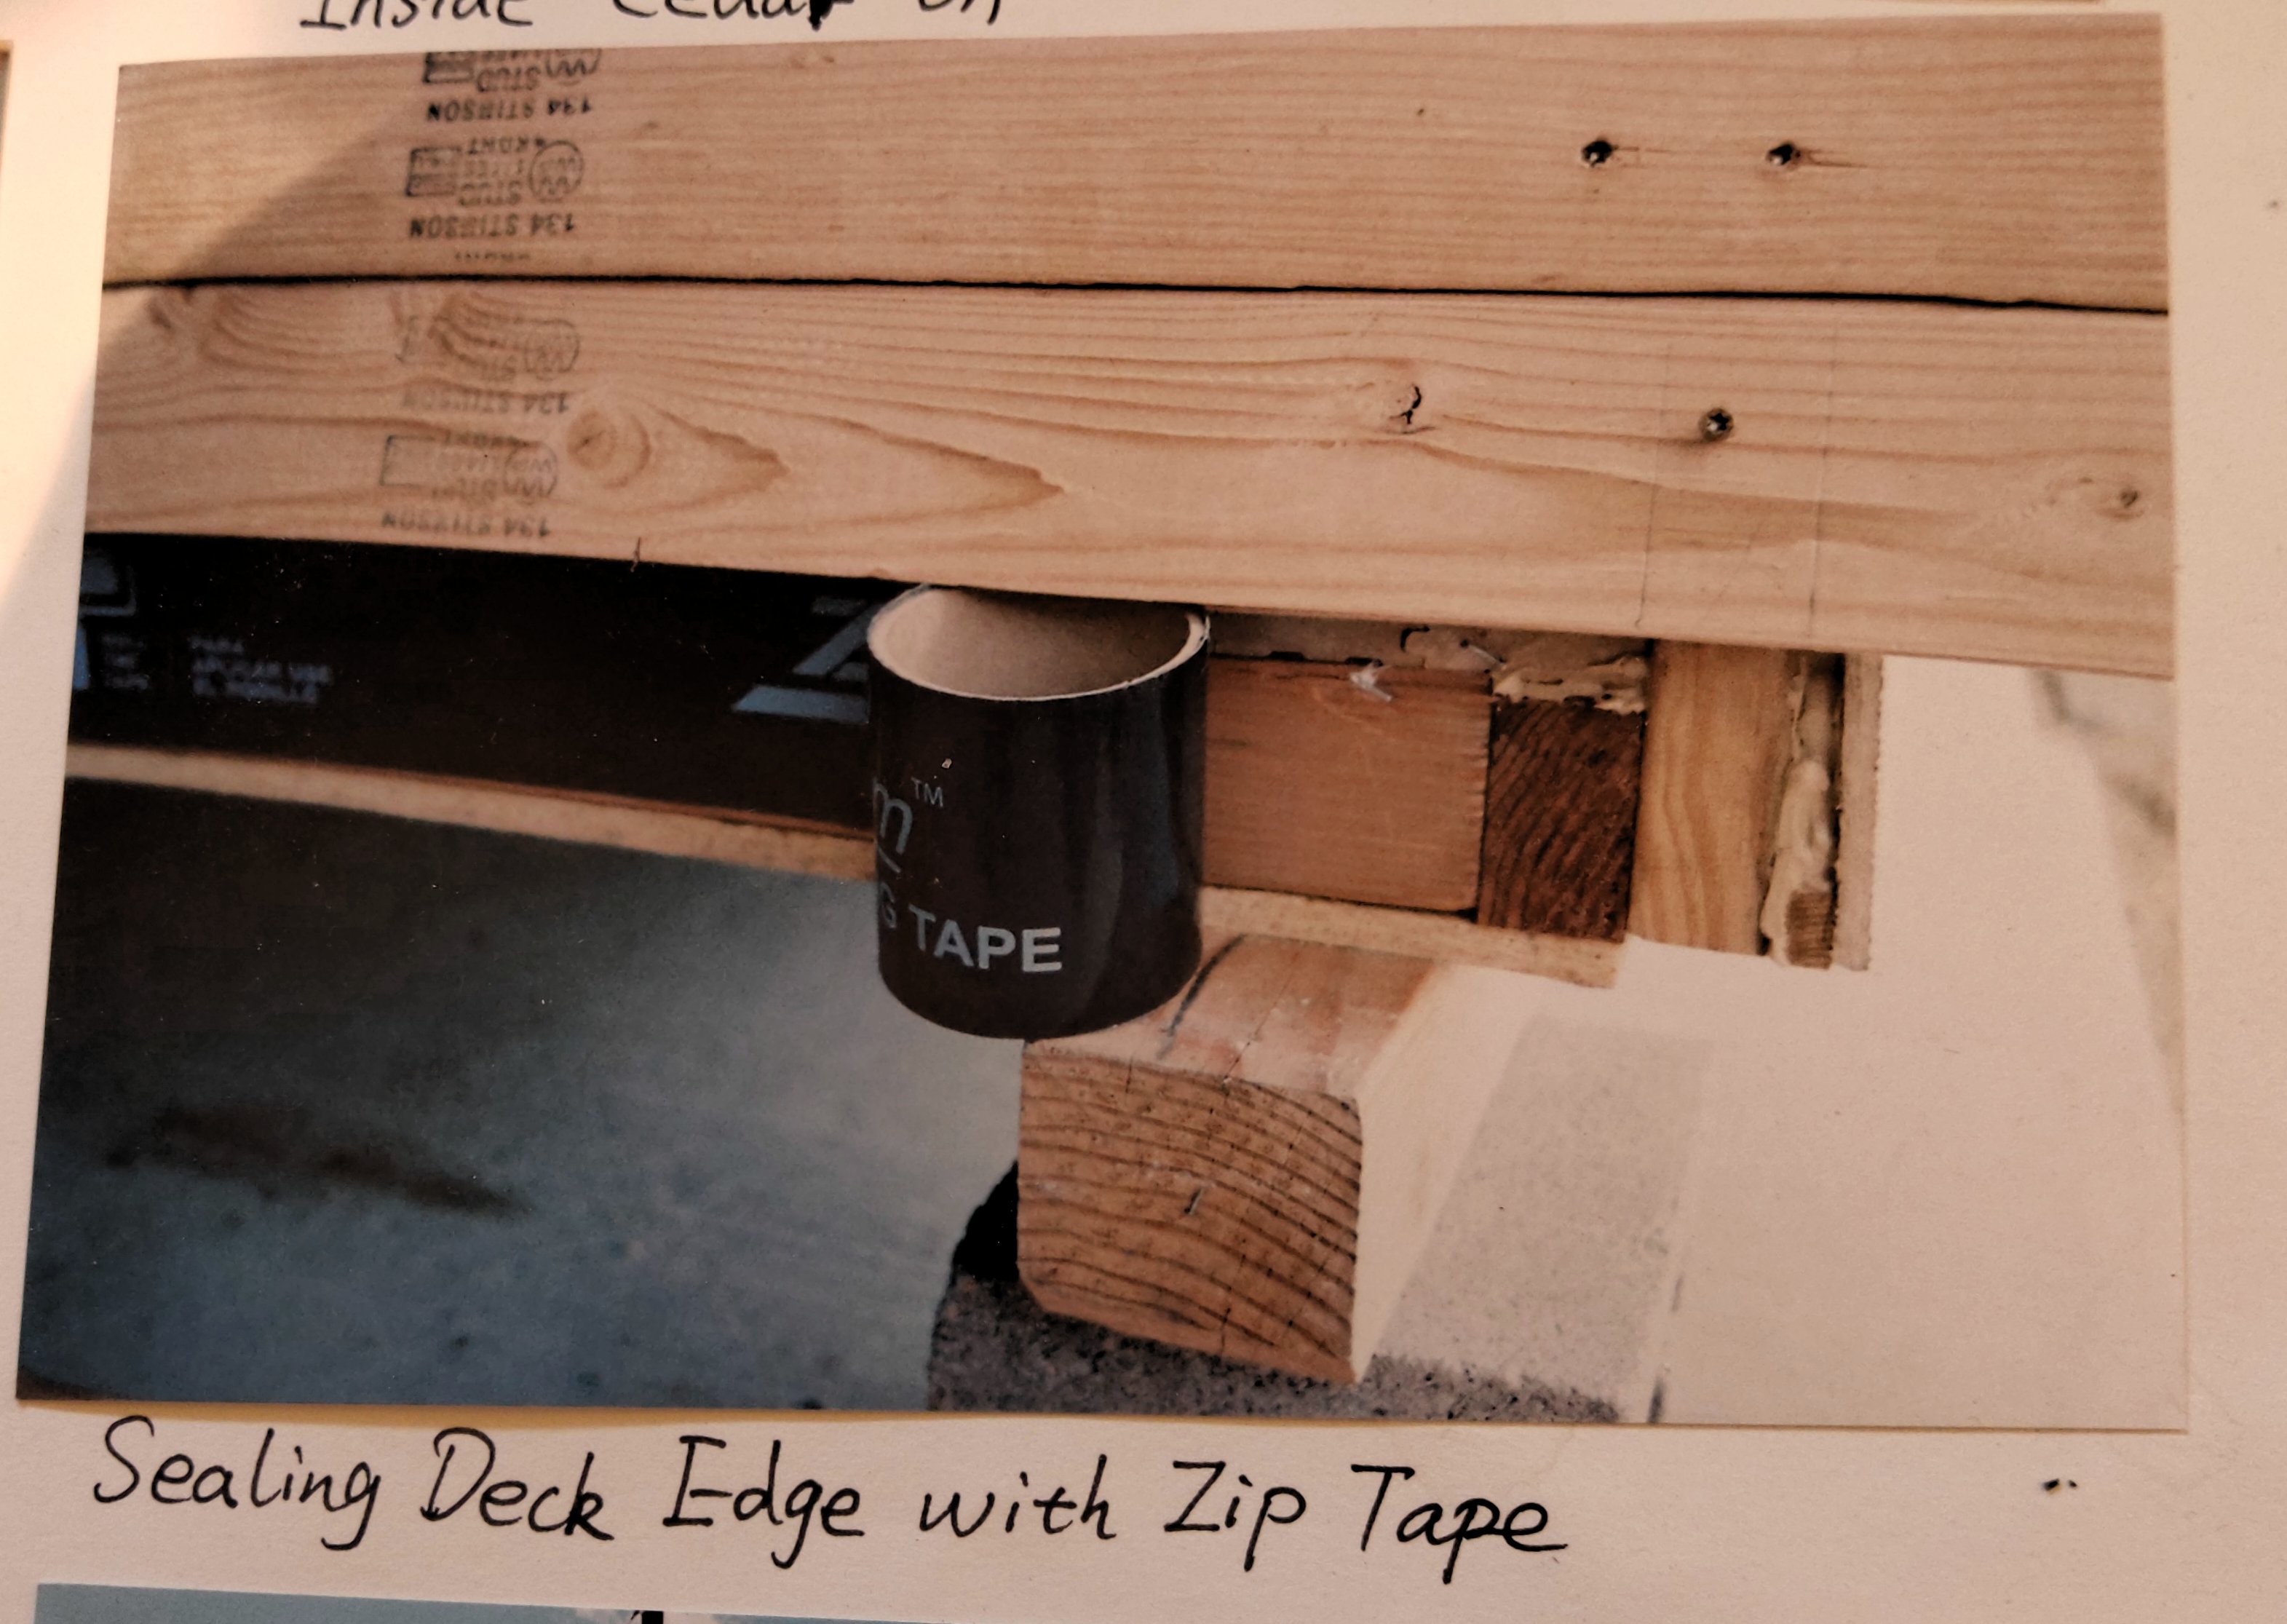
The deck should be weather and bug resistant. We like to have a sealed bottom so it can’t become a sheltered home for ant critters
(diagram II)

The main supporting wood is called a floor joist. Thats the 2×4, 2×6, or even 2×8 thick wood that carries all the weight. Note the wood piece is not actually 2”x4”, its 1 ½ x 3 ½. A 2×6 is 1 ½ “x 5 ½ “and a 2×8 is 1 ½ x 7 ½ “.
(Diagram III)

If you plan on building this hut to keep in one place on the ground, we suggest putting treated wood or concrete support on the ground with an air space under that’s at least 6 inches. Your support for the deck should be on the four corners minimum. We like putting a 4 x 4 skid plate (of the length) on a 12 foot 144“length
(diagram IIII ).

an extra support in the middle help stop bounce if lots of weight is inside
(diagram V)

Assembly -deck
Let’s assume you’re using 2 x 6 treated lumber- you need 12 pieces, and if you space the joists so there is a piece 16“.
(Diagram VI)

The key that is important if you’re using plywood is that a sheet is 4’ x 8’. At the seam ½ of the joist should support the end of the sheet
(Diagram VII)

That means 3/4 inches of the plywood edge to screw into the joist when you mark the spacing with a tape measure. Try to be exactly in the center on the 4’, 8’ etc joist so you have an enough wood to screw in.
If we cut the joist to a length that is 3” less than the total width. Wheel off of the two and joist (the outside ones we want to screw through to hold the inside ones)
(Diagram VIII)

On 12’ we would cut 10 piece is 77”. To cut them straight a square and pencil work well (but a block that is straight even a book can mark it well)
(Diagram IX)

After cutting one with an accurate angle in length you can use it as a pattern to cut the rest. On the Long and joist also called a belt or rim joist Mark with an accurate angle in space one side of where the shorter joist gets screwed in. Some people Mark both sides that’s (1 1/2 inch)
(Diagram X have screws)
Sounds tricky but if you remember to have screws in the middle of the joist that’s 3/4 of each side of the center. You can pre-drill the Three screw holes for each choice, but the new torque screws don’t need to be pre-drilled
Put one screw 1 inch+ down from the top, one in Center, 1 inch+ from the bottom. Since the wood Joist is 1 1/2 inch, we like a 3-inch-long screws and it goes into the other joist 1 1/2 inch and it can be longer, but we don’t like the screw much shorter. if the wood is very dry hard, then pre-drilling before screwing is a must or the screw may break the wood thicker screws (no. 10 work better than no. nine). beeswax and old Candle or soap helps
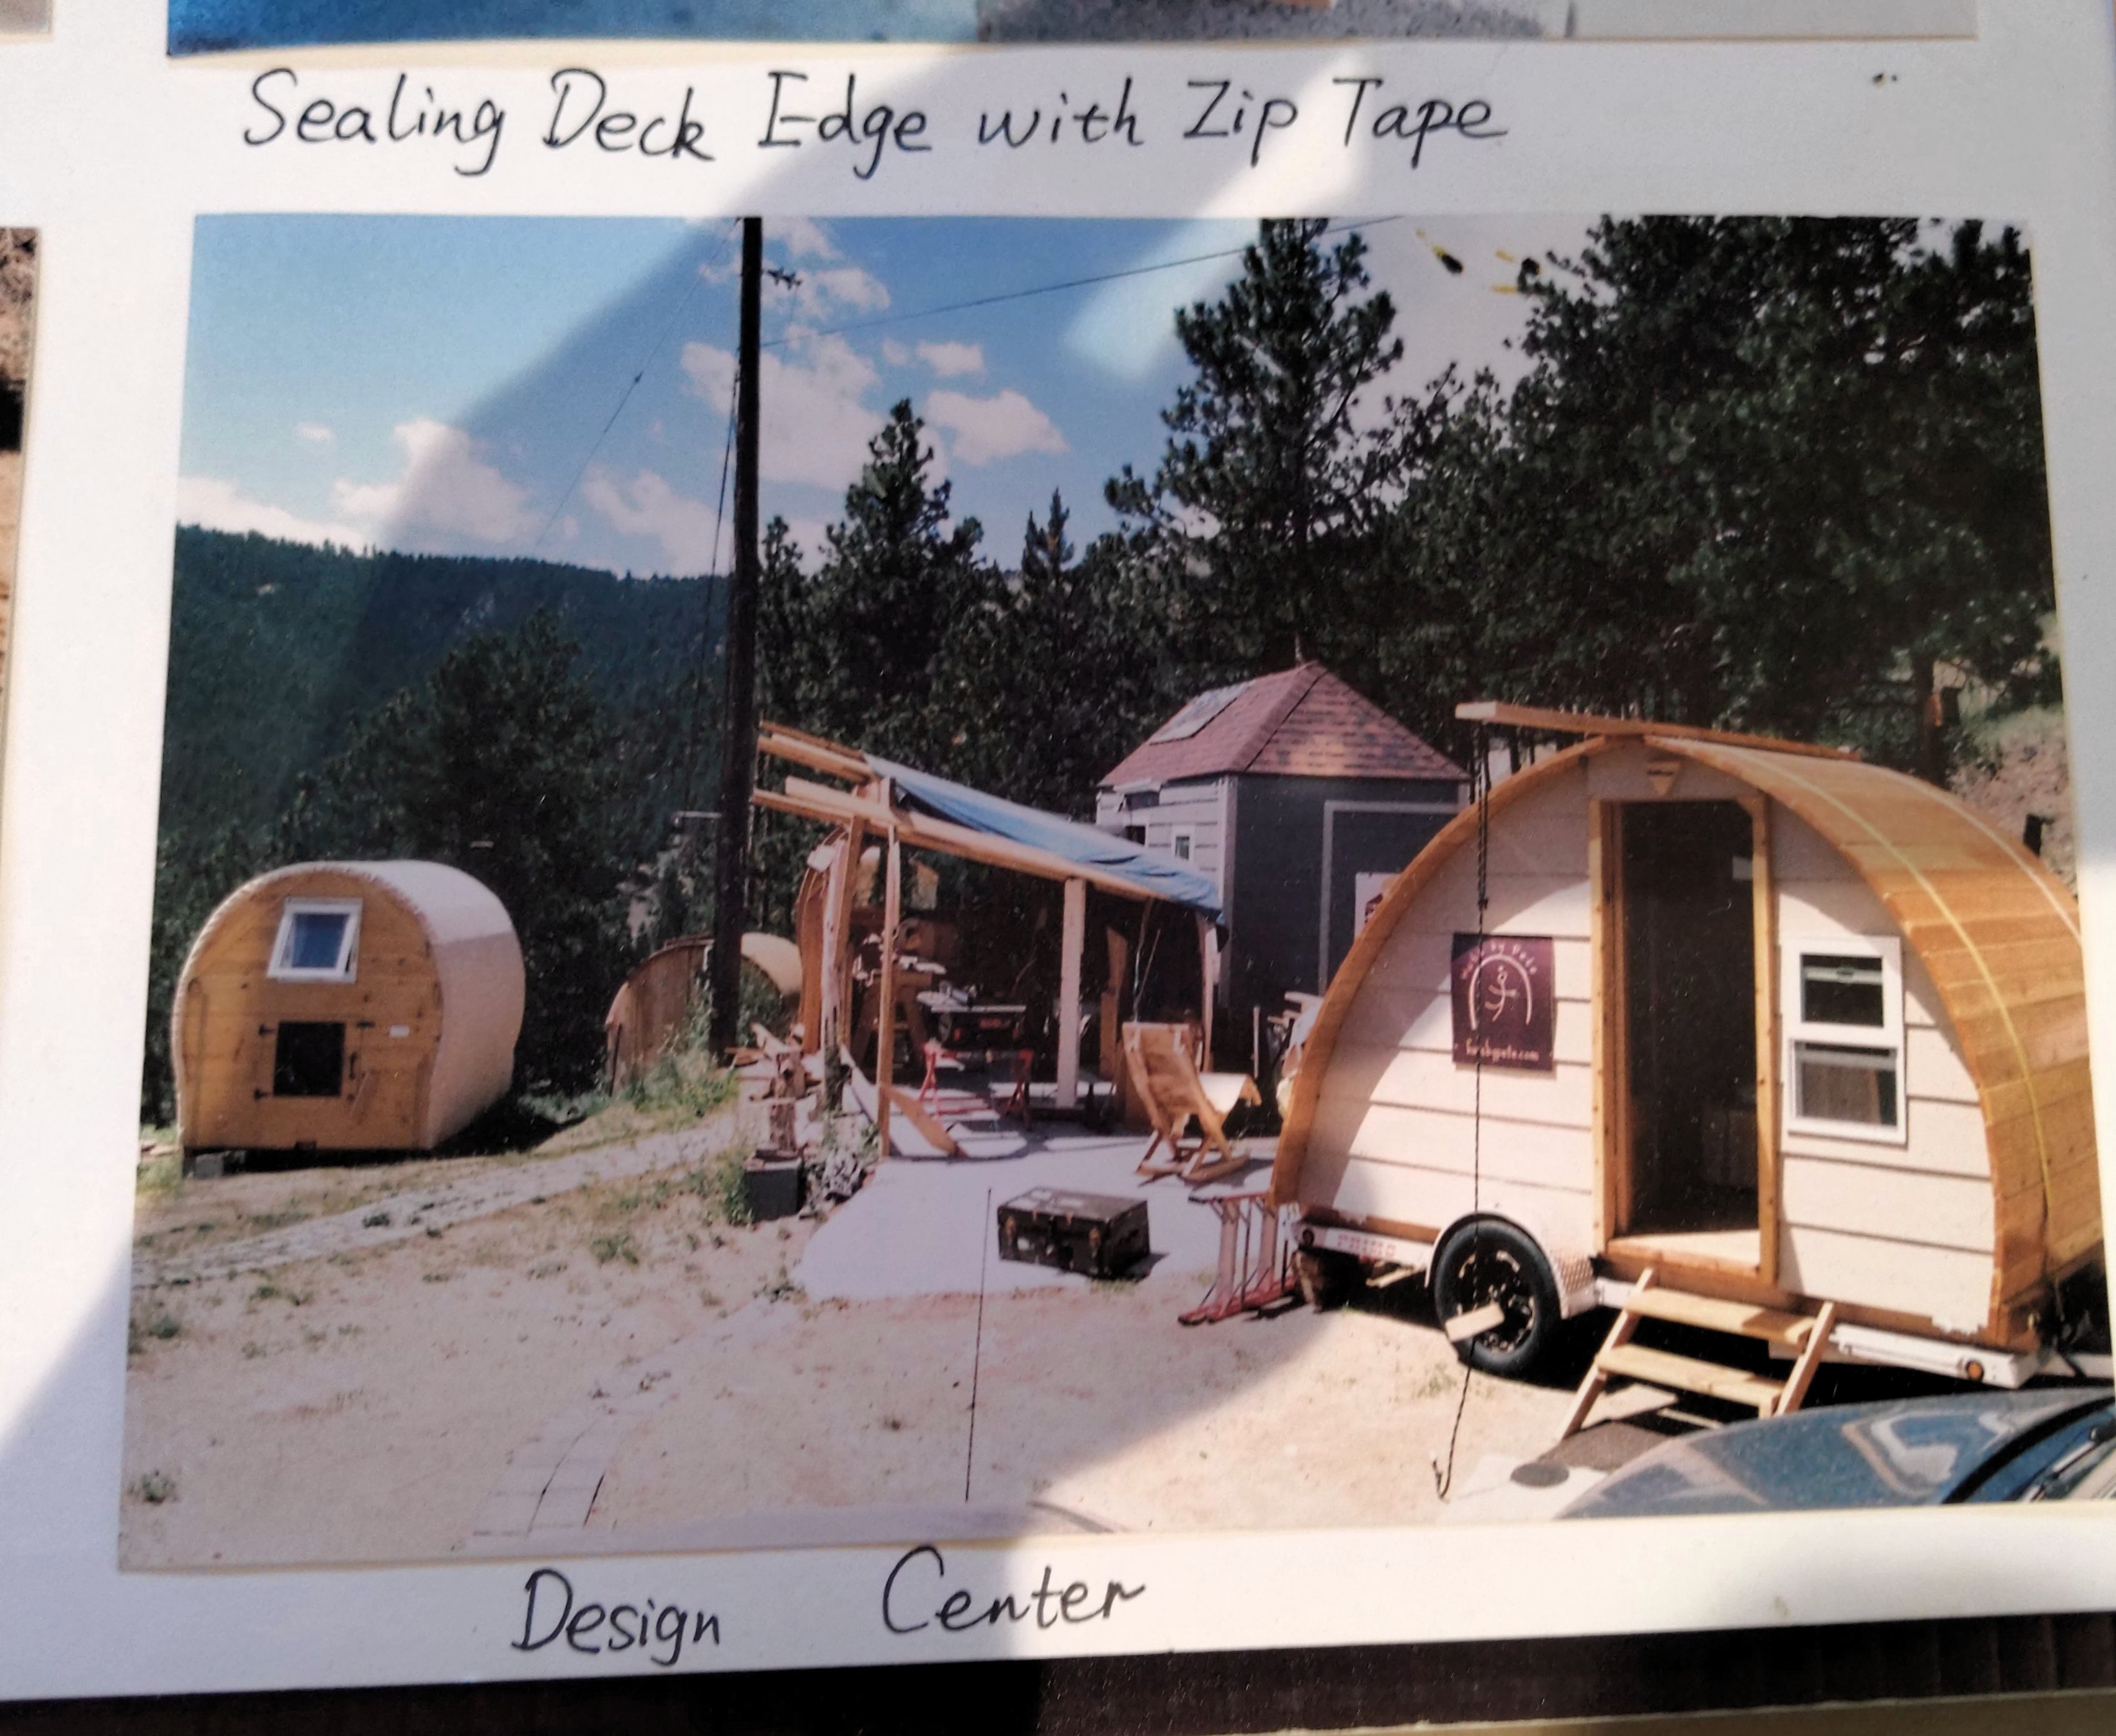
Specifications of 2022 model
Hut: 1850 lbs
Trailer: 650 lbs
- Three vinyl windows and nautical
- Wood door with glass
- Oak floor with 2-inch rigid insulation
- Cedar on two walls (inside) 1 ½” insulation
- Doug fir 2 x 6 for walls and ceiling
- Doug fir table
- full bed
- Flip opens out of way storage
- High-quality fasteners and caulking
- 4 x 4 skids on bottom for support and ease to move
- Three coats “man-of-war” boat varnish
- Rain fly- high quality chic canvas
Estimated Costes
Sink and vanity $500
Table Bench-bed $400
Bed- fold up bed $300
Uninsulated shell- no floor $8,000
Deck $300
Overhang $200